How to Give Yourself a Facial at Home (Like a Pro)
Every year, it's the same old story: as winter comes in, your skin becomes tight and dry, and redness arises. Taking care of your skin then becomes a daily battle! A facial can help your skin cope with the cold and loss of radiance. To do this, we recommend that you get a professional facial at home, exactly like you would at a spa!
Doing a facial at home is easy, all you need is to add a couple of steps to your daily skincare routine. Here's a simple 6-step treatment to pamper your face like you're at a beauty salon. Relax and enjoy your at-home facial!
STEP 1: CLEANSE
To remove pollutants from your skin, you should cleanse it twice a day, preferably in the morning and evening. Depending on your needs, this can be done with either a cleansing milk or a foaming cleanser.
To remove make-up from the face, cleansing milk is recommended. It also aids with the removal of pollutants accumulated throughout the day, such as pollution and dust. It is suitable for all skin types, but particularly dehydrated, mature, and sensitive skin.
The foaming cleanser, on the other hand, enables a deeper cleaning by eliminating excess sebum, dead skin, and pollutants that collect during the day. As a result, it is more suited for combination, oily, or acne-prone skin.
STEP 2: STEAM
Exposure to steam, in addition to relieving your nose, helps to clean the pores and remove bacteria and dirt from them. Following a steam bath, the skin is prepared a lot better to receive and absorb the nutrients and active ingredients in your products. This natural treatment also aids in the removal of even the most stubborn blackheads and increases blood circulation for an immediate healthy glow.
The treatment is actually very simple to make and will only require fifteen minutes of your time. Start by boiling some water and pour it into a large bowl. Add a few drops of essential oils or dry herbs, such as rosemary or thyme, which are generally suitable for all skin types. Then place your face over the bowl. Cover your head with a towel and wait for ten to fifteen minutes.
STEP 3: REMOVE BLACKHEADS
Thanks to the previous step, the pores of the skin are now thoroughly opened, making the removal of blackheads much easier! Wrap your two index fingers in a kitchen towel, and delicately remove blackheads from your nose and chin, changing the paper as you go (and without forcing too much so as not to damage and irritate the skin).
Don't forget to thoroughly disinfect afterwards the areas where the blackheads have been extracted. Use a toner like the Rose Toner Mist to tighten the pores and soothe your skin if your skin gets irritated or sensitive after the treatment.
You can also try adding products containing salicylic acid or vitamin A acid to your daily skincare routine since they have keratolytic properties, which means they polish the skin texture by removing dead cells that block the pilar canals and promote blackheads.
STEP 4. EXFOLIATE
This is the key to a clearer, brighter, fresher complexion. Depending on your preference, choose a mechanical or chemical exfoliant to make your skin look new, boost radiance and allow active ingredients to penetrate deeper.
Here are a few things you need to know about each type of exfoliant before choosing one:
Mechanical exfoliant: This type of product contains grains of varying sizes and is best suitable for normal, oily, and combination skin since it helps reduce and control sebum production.
People with sensitive skin can also benefit from this kind of exfoliation if they use gentle, non-abrasive scrubs made with fine granules and hydrating ingredients like the Coffee Scrub.
Chemical exfoliant: This kind of exfoliant contains acidic agents (glycolic acid, salicylic acid, fruit enzymes) that are used to eliminate dead cells.
Chemical exfoliation is best suitable for dry and sensitive skin, as it is usually quite hydrating which is perfect for these skin types.
STEP 5: USE A PURIFYING MASK
A clay mask is fantastic for improving the vibrancy of your complexion and your skin’s condition. It’s similar to the mud used in certain spas and provides an all-in-one treatment by purifying, clarifying, soothing, moisturizing, tightening the pores, and making the skin more radiant. The clay’s absorbing capabilities will leave your skin looking and feeling detoxified as if you were leaving a spa.
However, make sure to select a clay that is ideal for your skin type. If your skin is oily, prone to blemishes, or acne-prone, go for a green clay that is very absorbent and purifying. If your skin is dry or sensitive, go for white clay. If your skin is sensitive or prone to tightness, you can benefit from the calming properties of pink clay. Finally, if your skin is combination and oily, but also sensitive, choose yellow clay.
STEP 6: MOISTURIZE
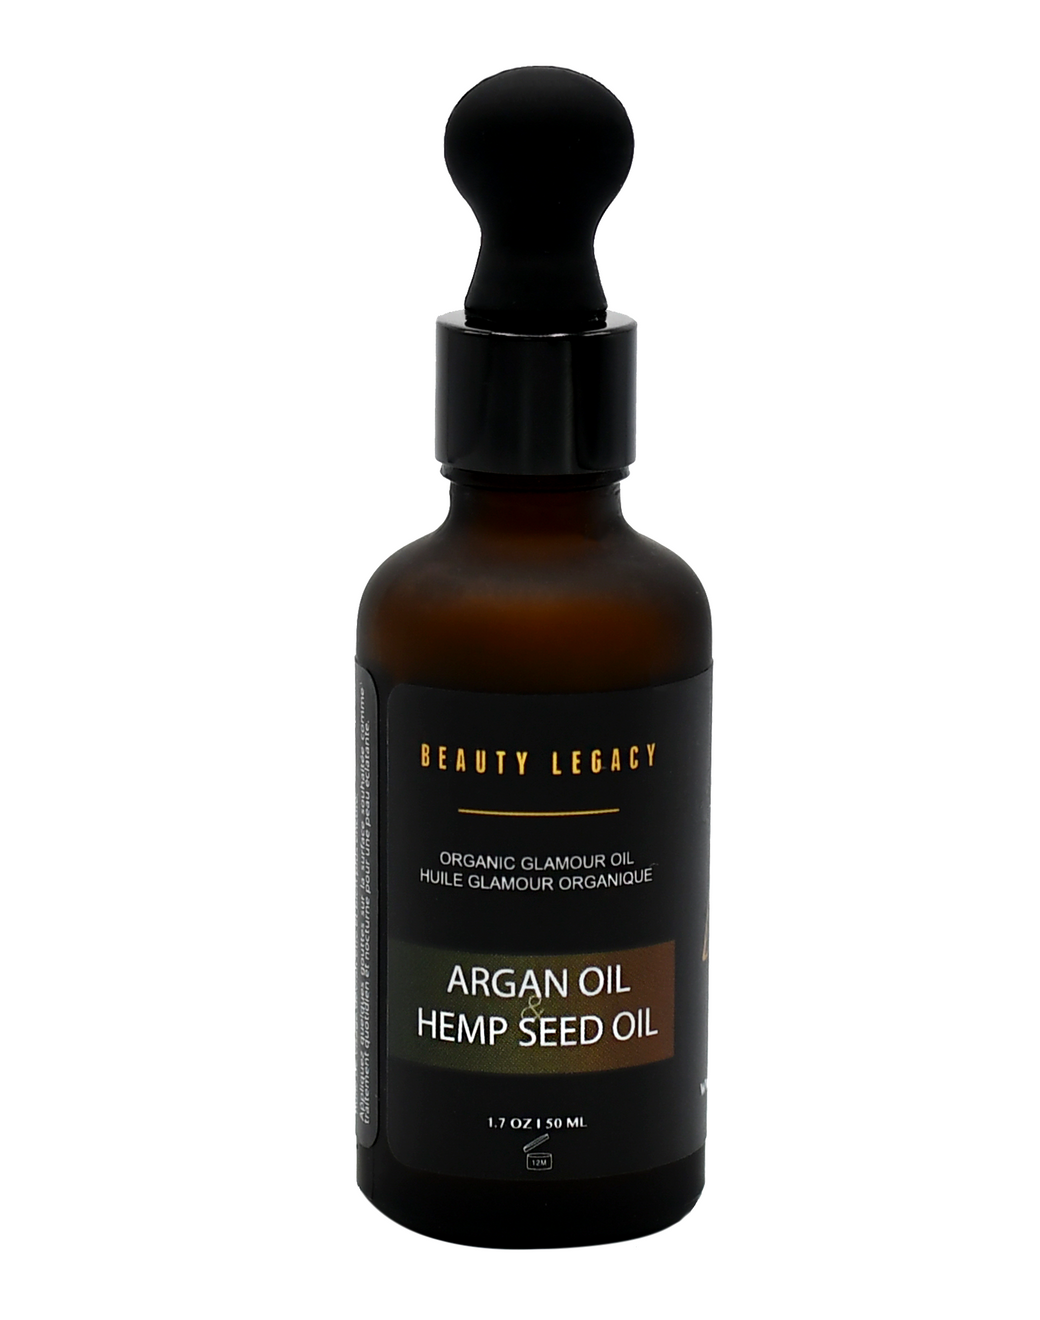
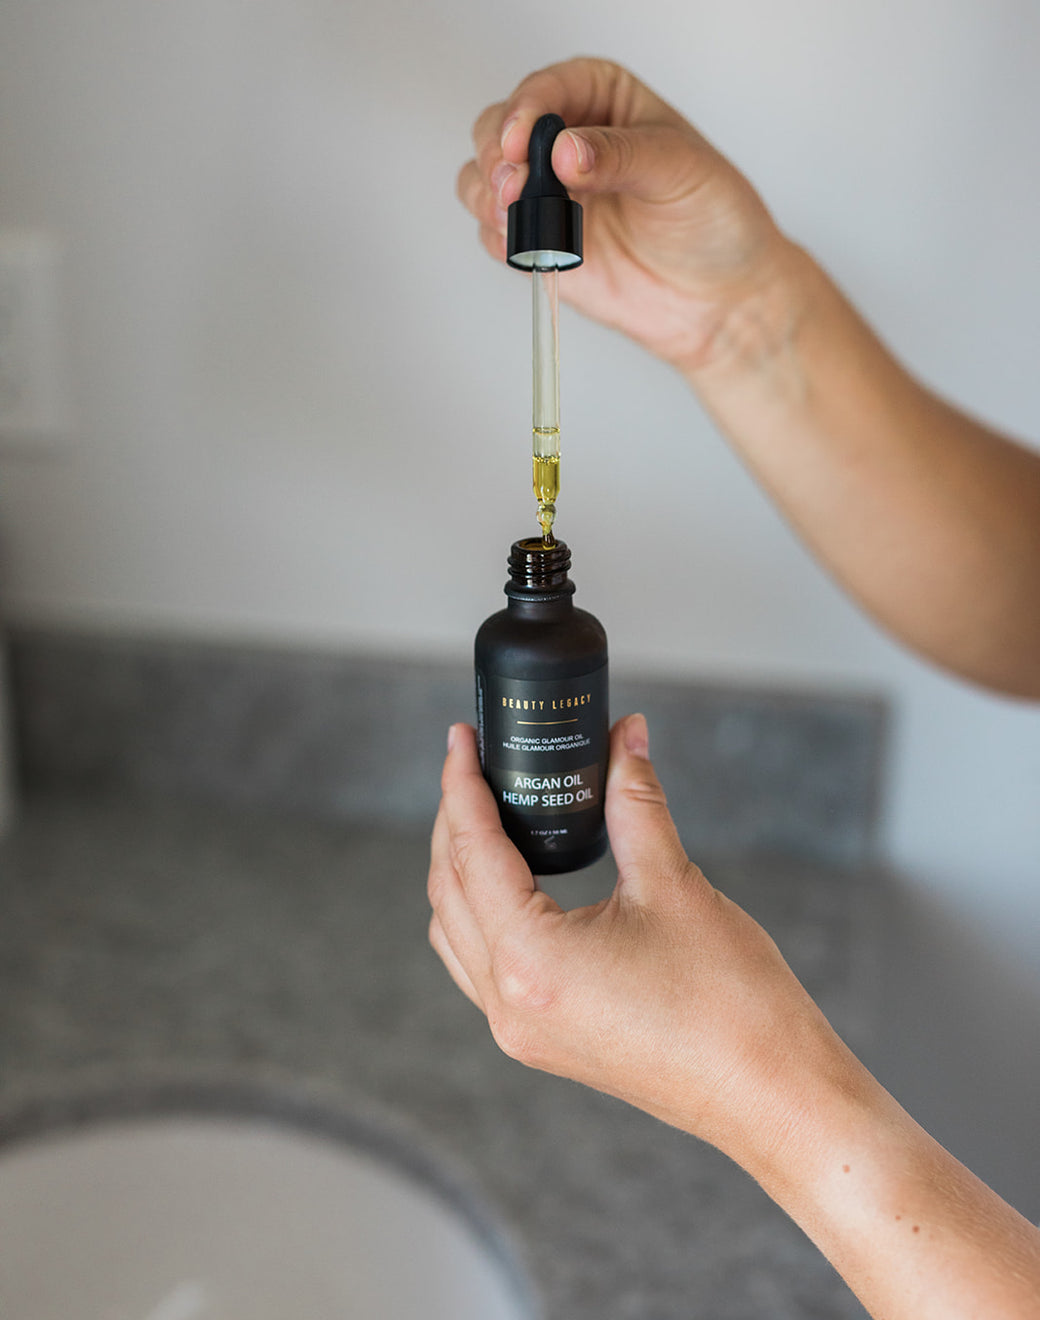
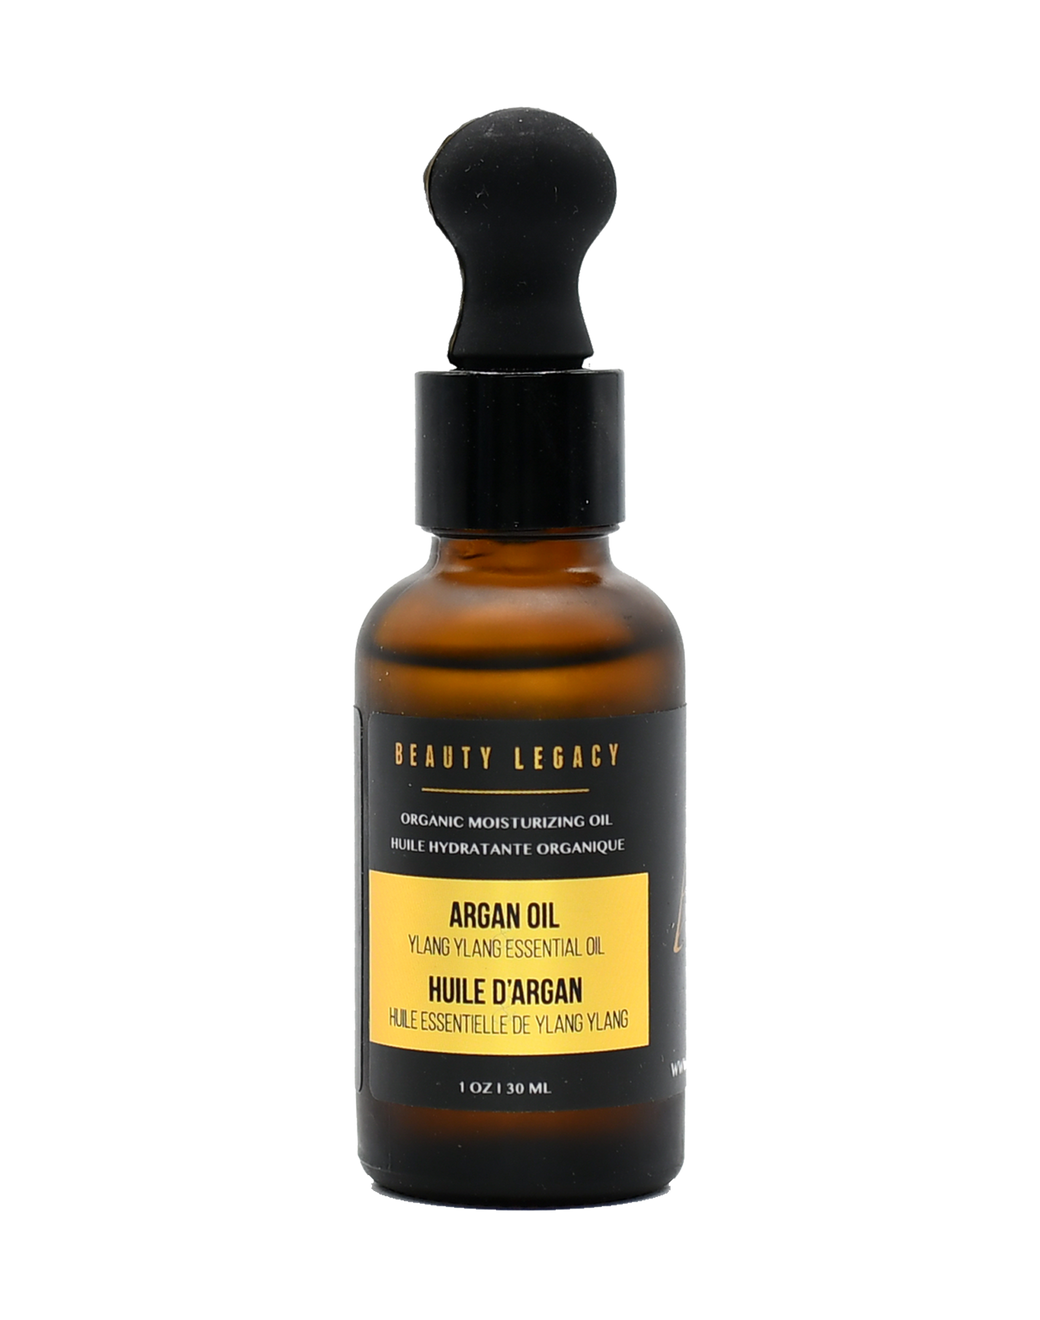
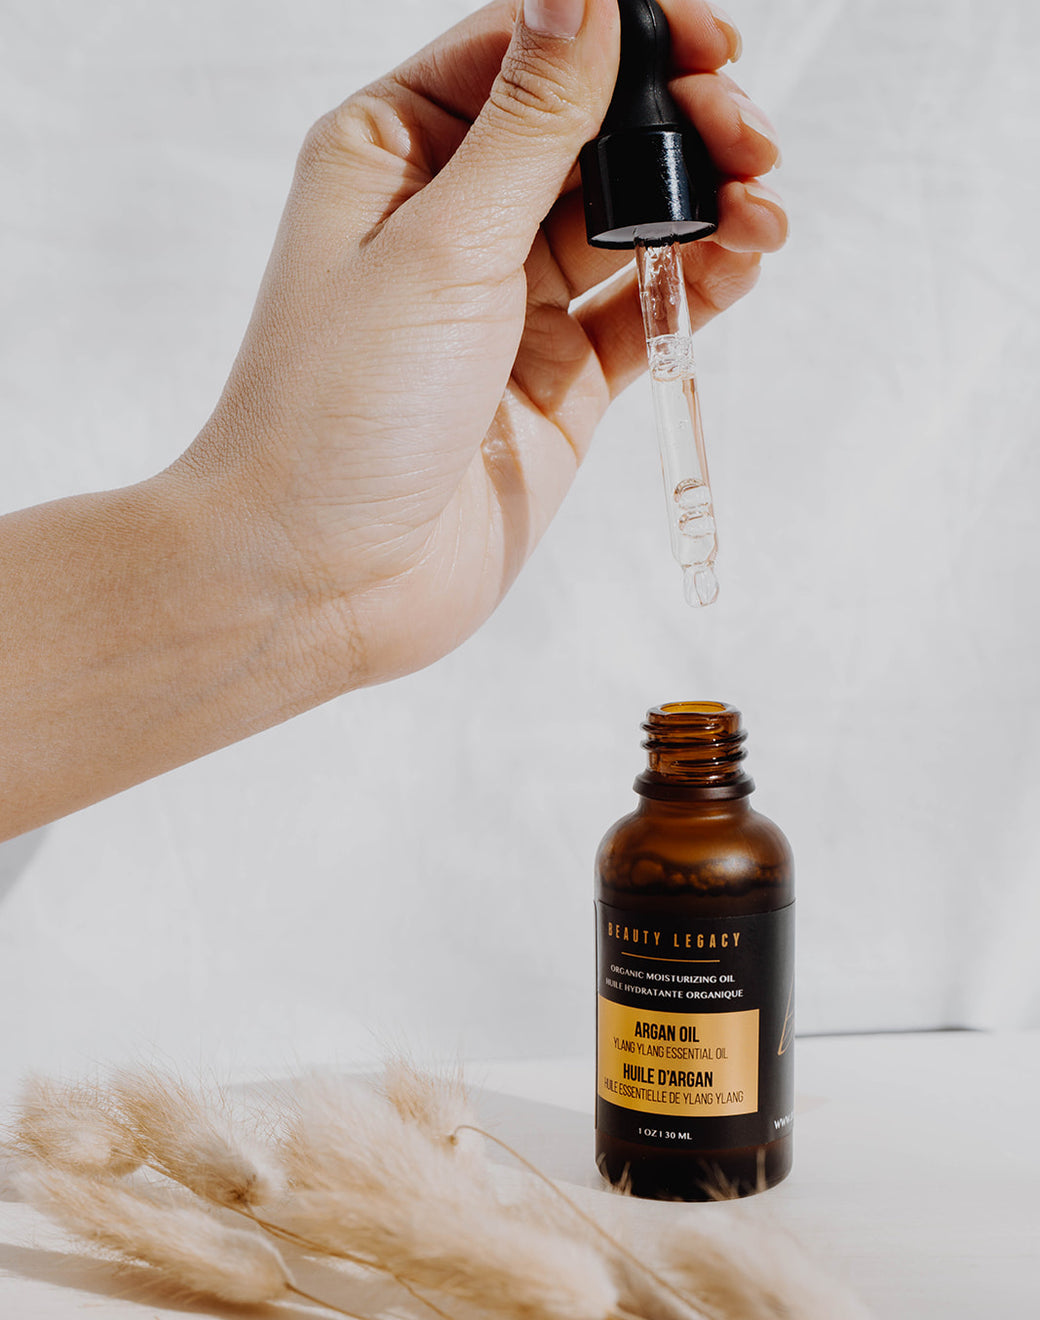
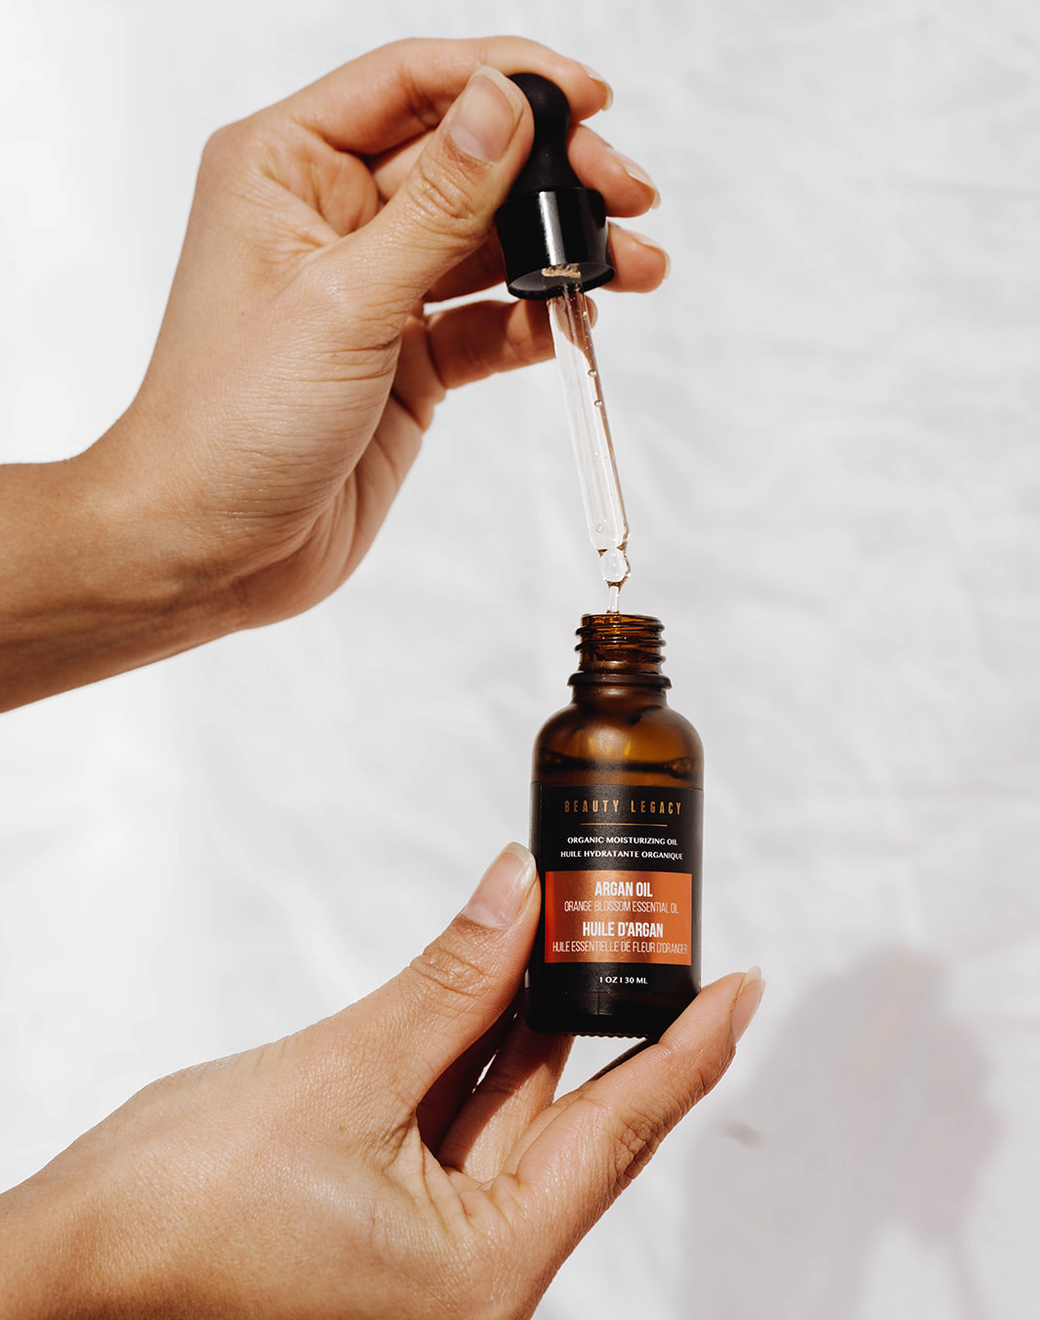
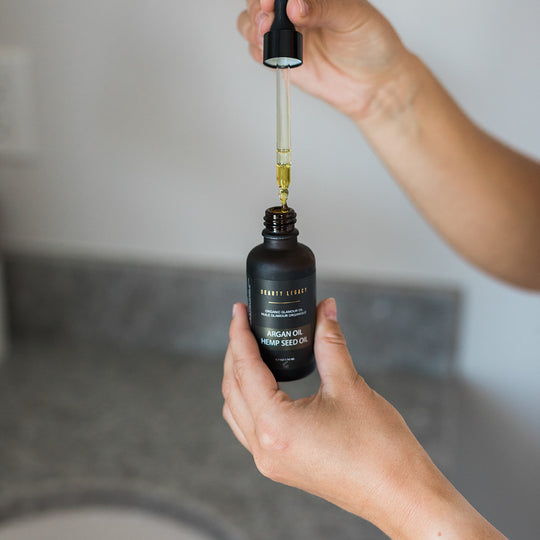
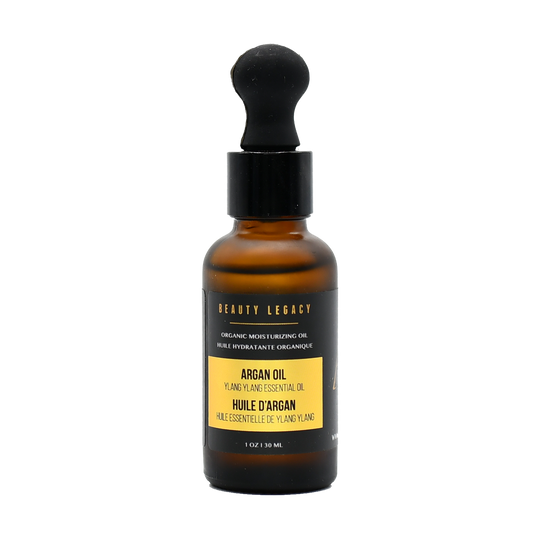
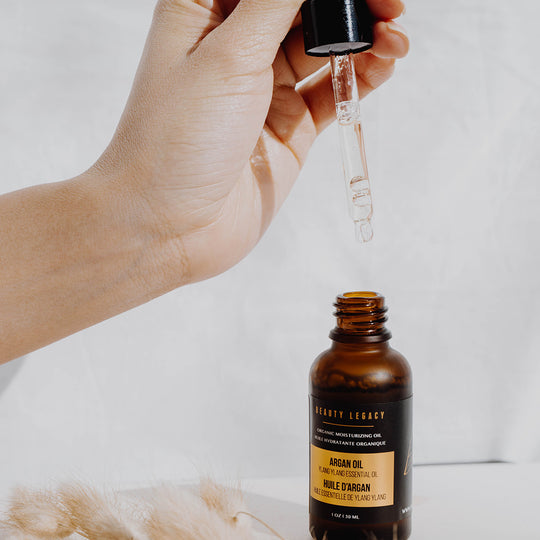
Finally, use your daily serum, eye cream, and moisturizer to bring back some hydration to your face after the clay mask. This will help lock in all of your hard work and soothe your skin. Facial oils like the Argan Oil with Ylang Ylang Essence are a perfect way to hydrate your skin after and give it a nice healthy glow after the treatment. Don't forget to also moisturize your lips with a creamy, moisturizing balm. If you intend to go out in the sun after your at-home spa day, make sure to wear sunscreen with an SPF of at least 30 before heading out.
And voilà, you and your skin are ready to face the cold winter days ahead!

